Angeline Design Center Choices Buyers Should Weigh
March 12, 2026
March 12, 2026
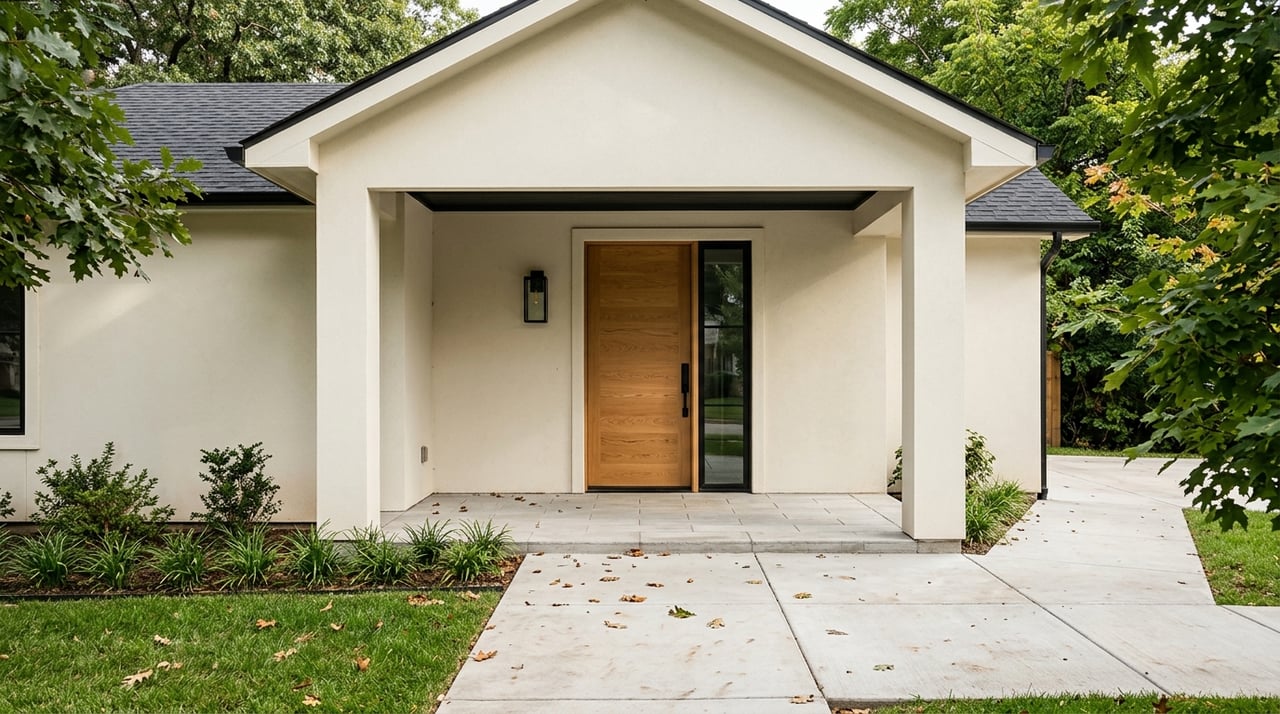
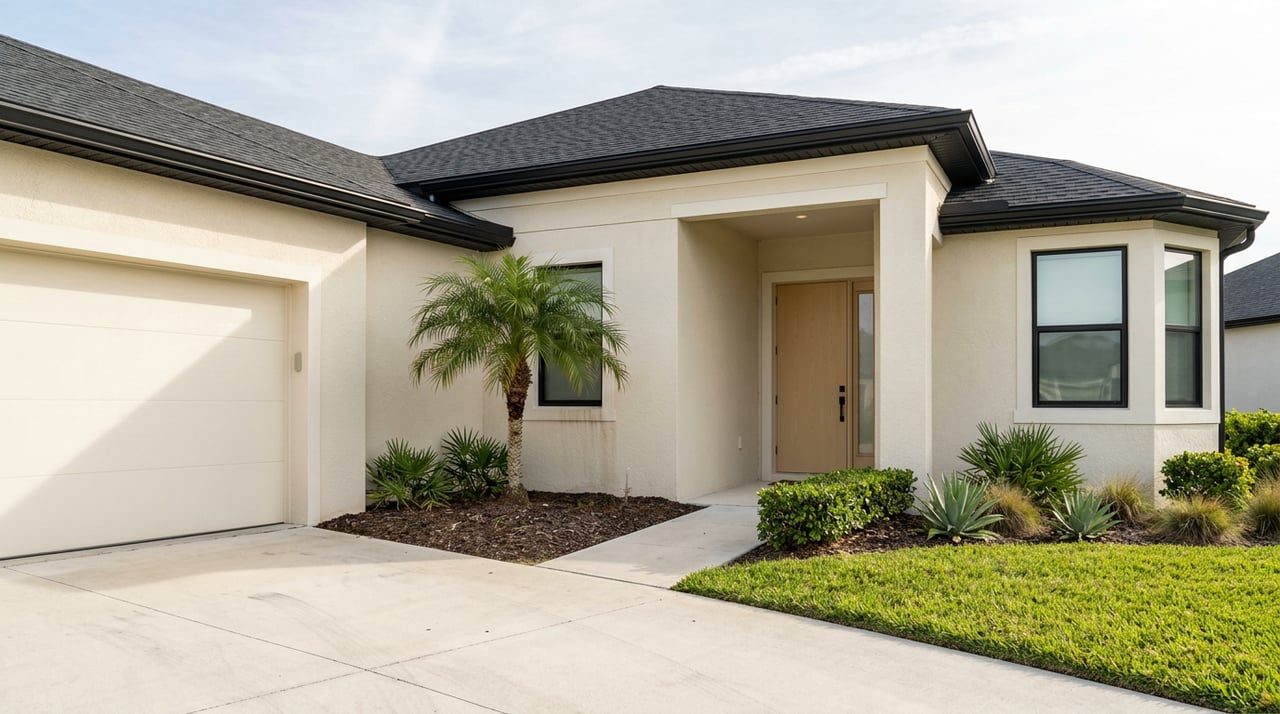
You finally locked in a homesite in Angeline, and now the design center is calling. Exciting, yes, but it is easy to feel overwhelmed by choices and upgrades that add up fast. You want a home that fits your life, holds value, and avoids costly regrets. In this guide, you will learn which selections to prioritize, what is commonly included by builders at Angeline, and what to verify before you sign your design orders. Let’s dive in.
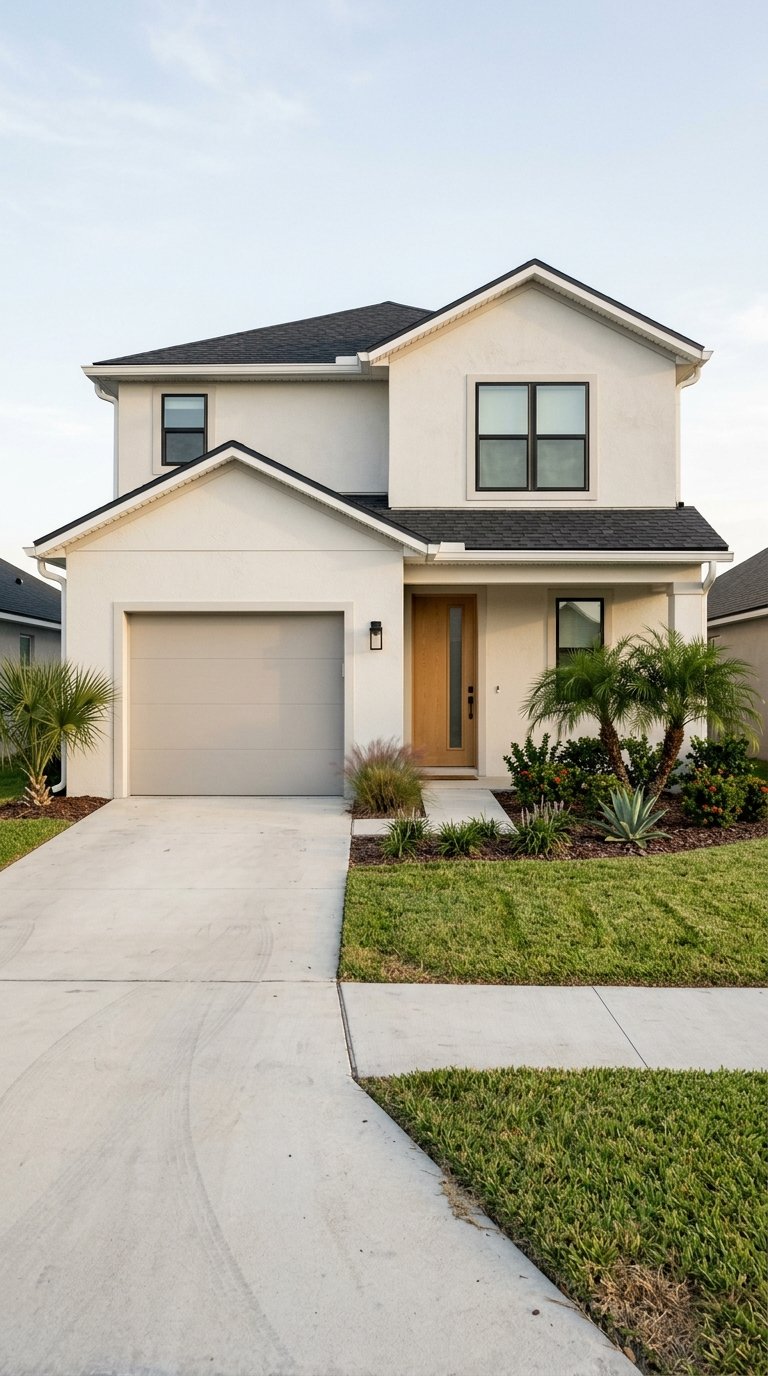
Angeline is a master‑planned community in Land O’ Lakes spanning about 6,200 acres with roughly 3,600 acres of preserved green space, trails, and planned amenities that include a MetroLagoon, a community farm, and an onsite Moffitt research and medical hub. You will see a range of home types and price points across collections. Current marketing highlights Lennar, D.R. Horton, and Dream Finders Homes offering townhomes, villas, and single‑family options, with some collections starting in the upper $200s and others moving into the mid to high $300s and $400s depending on the plan, lot, and release. Always confirm the latest phase, pricing, and carrying costs with the builder before finalizing upgrades. For community context, review the developer’s overview of Angeline’s scale and amenities on the official community page at Metro Development Group.
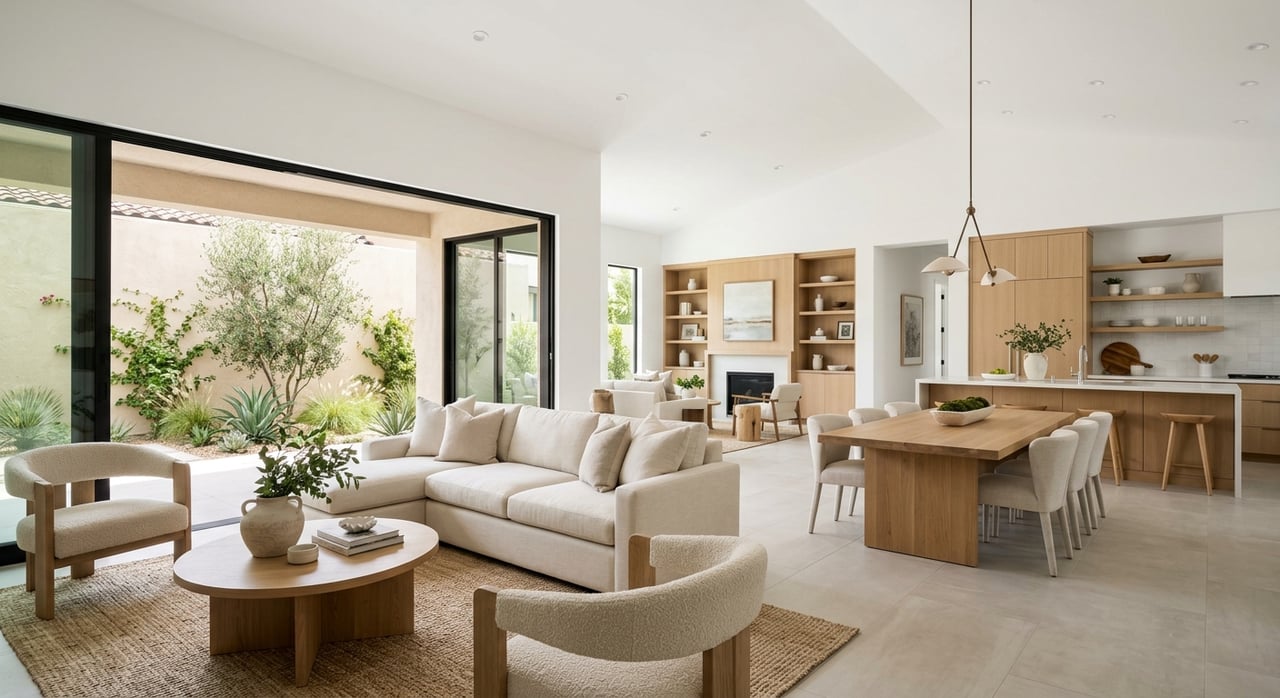
At Angeline, some collections are marketed with preset finishes and systems as part of the base price. Lennar promotes an “Everything’s Included” approach on select lines, which may feature stainless appliances, Low‑E windows, smart‑home items, and midrange finishes. Verify the exact inclusions for your plan and phase in writing, since packages vary by collection and release. See Lennar’s Angeline materials and confirm the included features and any HOA or assessment context on the Lennar community page and in your purchase agreement. You can also review Lennar’s Angeline launch coverage that describes the included‑features strategy in the official press announcement.
Many builders separate two buckets of choices. Structural options are items that change the plan or require permitting, while finish upgrades are chosen at the design center and applied as line‑item upgrades or against an allowance. Expect different rules and deadlines for each category.
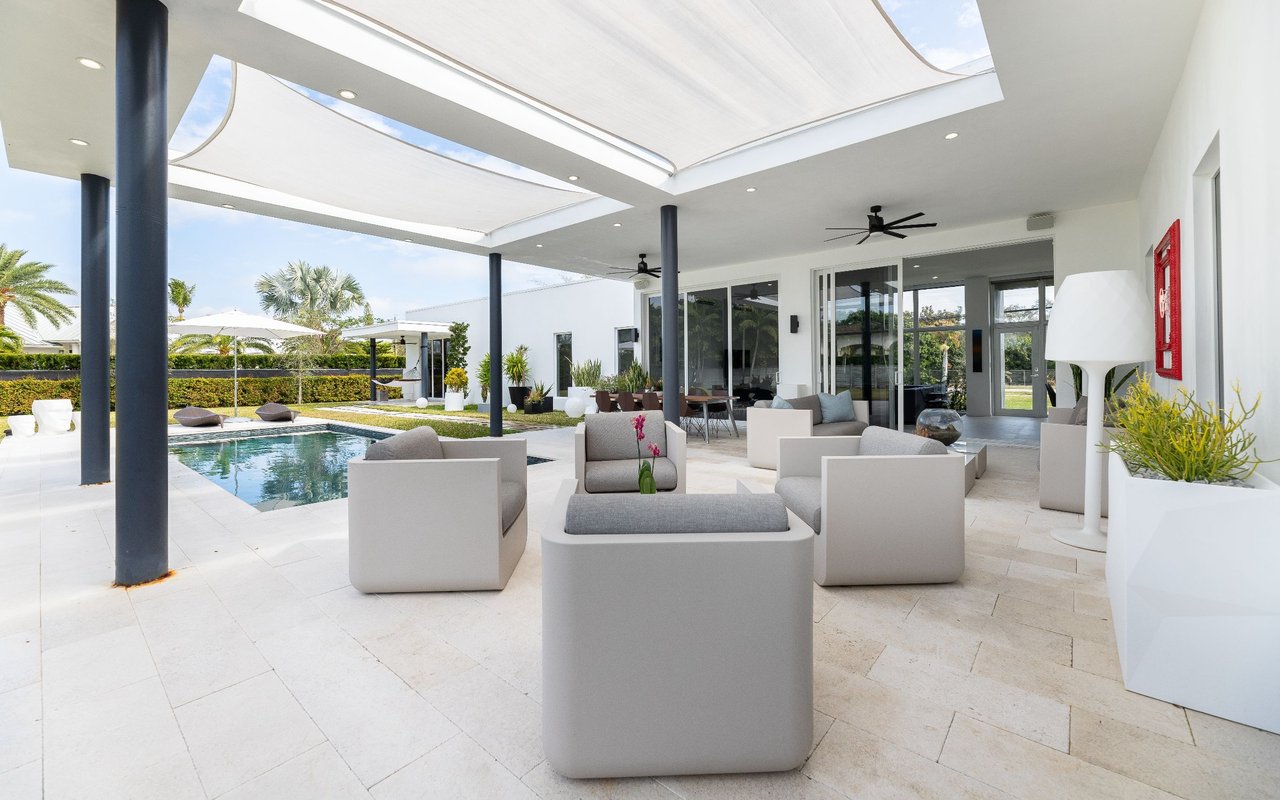
Spend first where changes are expensive or impractical after framing. Common high‑priority structural items include an added bedroom or bath, an extended or covered lanai, and garage size changes. These decisions affect permits, schedule, and inspections, so they have earlier cutoffs. A helpful rule of thumb is to lock footprint, plumbing locations, and any electrical rough‑ins before moving to finishes, as outlined in this practical new‑construction decision guide.
In Florida, certain energy and storm‑resilience features are worth serious consideration during selections. Ask about higher‑efficiency HVAC equipment, upgraded duct sealing and insulation, impact‑rated windows and doors or opening protection, roof deck attachment and roof‑to‑wall connections, and secondary water barriers. Some of these can qualify for wind‑mitigation documentation that may help with insurance credits if properly recorded. Review the state’s overview of wind‑mitigation features and documentation on the Florida Office of Insurance Regulation resource page, and remember that all new homes must meet the current Florida Building Code requirements noted by the Building Codes Assistance Project.
Pre‑wiring for systems is also smart. If you plan to own an EV or solar later, ask about a dedicated EV‑ready circuit or conduit and solar‑ready chase while walls are open. Rough‑ins are typically far cheaper now than after closing.
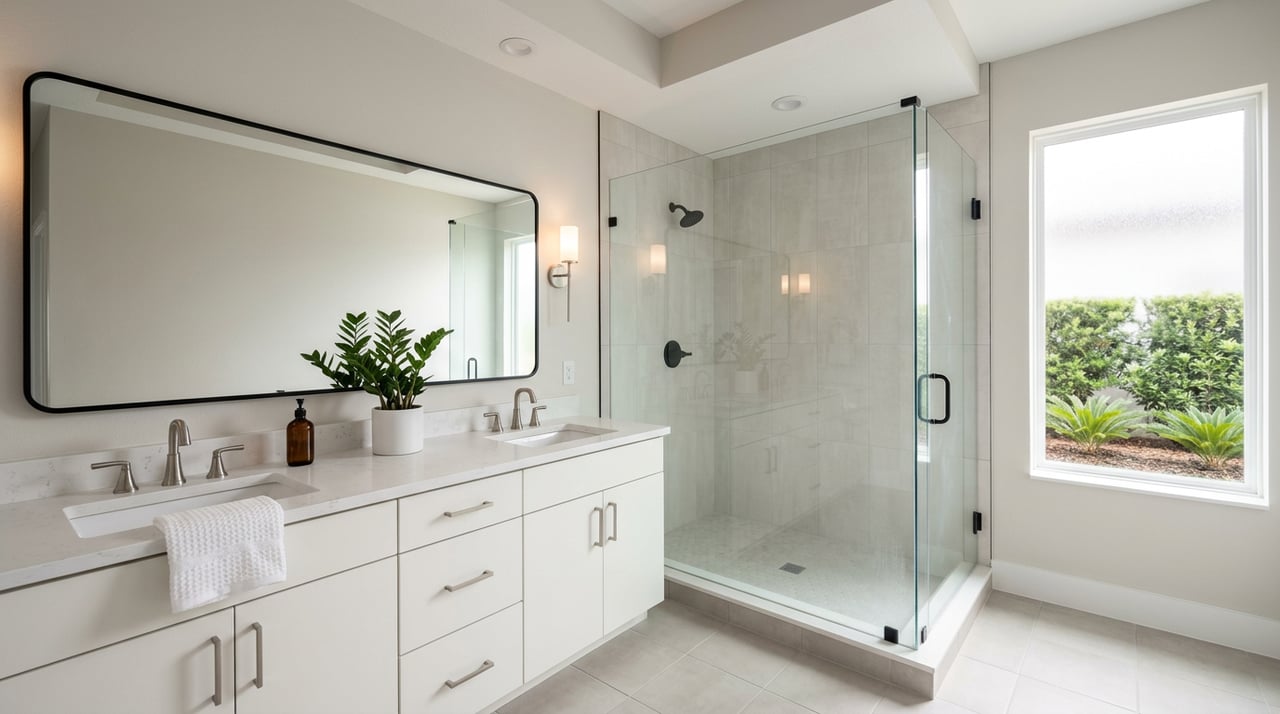
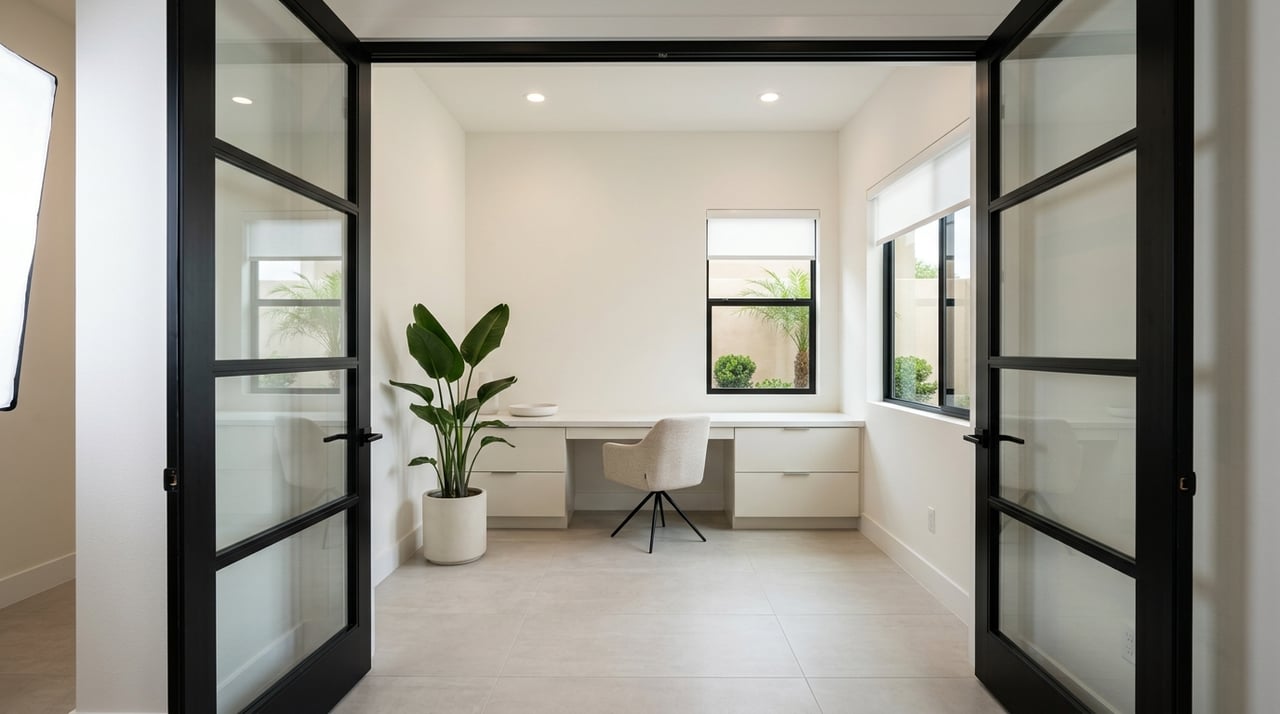
Finishes shape daily enjoyment, but some can wait. Cabinets, decorative plumbing, backsplashes, and lighting are relatively easy to change later. If you need to trim your budget, accept a clean standard package and phase in cosmetic upgrades after you close. Before you sign, get itemized pricing for every finish and confirm any allowances in writing, including lead times and change‑order terms, as advised in this overview of deposits and allowances from a consumer legal resource on new‑construction mechanics.
When you do spend on finishes, consider durable, low‑maintenance materials with broad appeal. Regional Cost vs. Value reports consistently show that modest kitchen and bath upgrades and many exterior improvements offer better value retention than luxury splurges. Use Cost vs. Value data directionally to right‑size your finish spend relative to neighborhood comps, as summarized in this review of recent home improvement ROI trends.
Incentives can be offered as design‑center credits, closing cost help, or rate buydowns, often tied to using a preferred lender. Ask the builder to specify in writing whether incentives reduce the base price, your upgrade total, or closing costs, and whether they affect your ability to make certain selections. Do not try to finalize all choices in a single rushed appointment. Make an initial visit to review options and pricing, go home to prioritize, then return to lock choices within the builder’s deadlines, following the appointment strategy outlined in the new‑construction guide.
Builders usually require a design‑center deposit when you approve upgrades, and many deposits become non‑refundable once materials are ordered or the build hits a milestone. Clarify deposit percentage, refund windows, special‑order lead times, and change‑order fees, and keep a signed, itemized list of everything you approve. For a consumer‑level overview of typical deposit and change‑order mechanics, see this guide to new‑construction deposits.
Ask the builder which wind‑mitigation features are standard for your collection and whether they will provide the state’s Uniform Mitigation Verification documentation at closing. Some features, like full opening protection, roof deck attachment, or a secondary water barrier, are often documented for insurance purposes. Learn how wind‑mitigation credits are evaluated on the Florida OIR resource page.
Flood risk depends on lot‑level mapping and elevation, not finish picks. Before you finalize big‑ticket exterior or foundation options, review your parcel on the FEMA Flood Map Service Center and ask the builder for any elevation certificate or planned finished‑floor height notes for your lot.
Most national builders use a limited warranty structure often described as 1‑2‑10. That typically means one year for workmanship, two for major systems, and 10 for qualifying structural coverage. Read the actual booklet for your builder and community to confirm claim procedures and exclusions. For context on the common 1‑2‑10 format in the industry, review this overview from a national warranty administrator’s builder knowledge center.
Use this quick list to balance lifestyle and value:
Bring a clear plan to your design appointment. Lock structural items and rough‑ins first, then choose energy and resilience features that fit Florida’s climate and your insurance documentation needs. Save aesthetic splurges for where they have daily impact or easy resale value, and capture every price and deadline in writing. If you want a local, experienced advocate to help you compare options and keep your budget focused where it matters, connect with the team at Platinum Property Collective with REMAX to schedule a free consultation.
Stay up to date on the latest real estate trends.


We are committed to guiding you every step of the way—whether you're buying a home, selling a property, or securing a mortgage. Whatever your needs, we've got you covered.